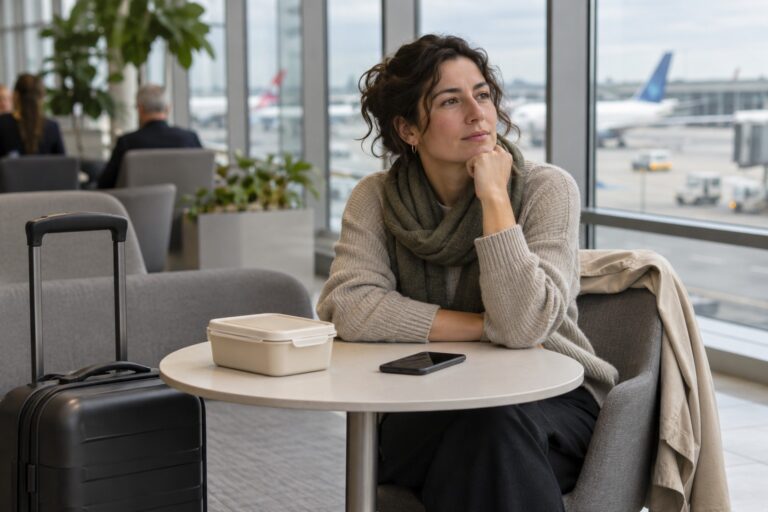
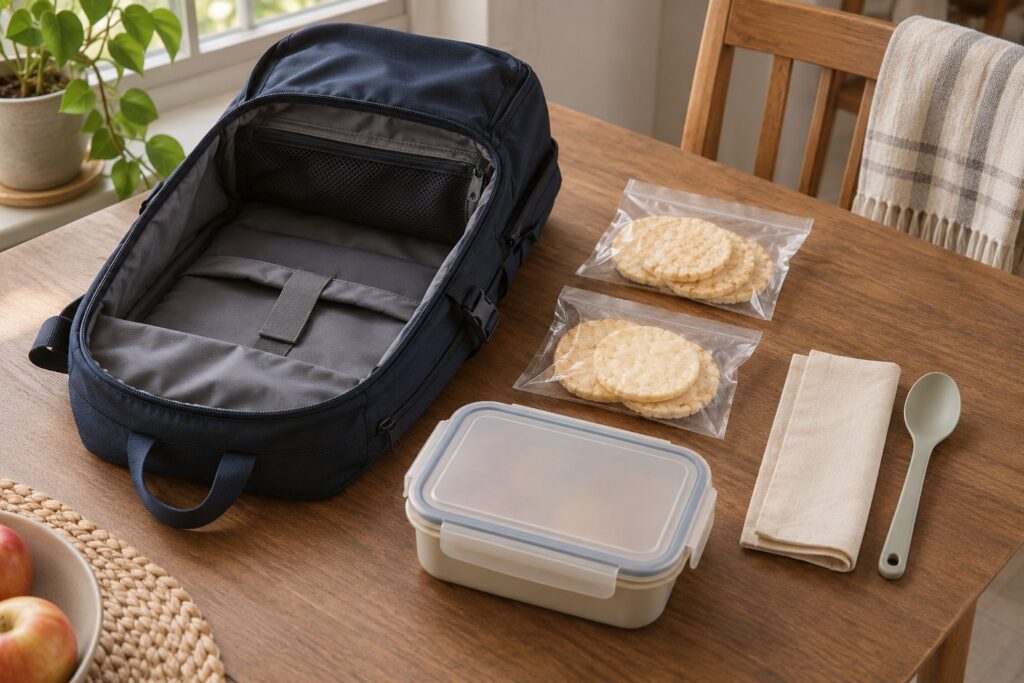
The food fits in your bag, but the journey raises other questions. Will a spread pass security? Can your packed meal stay cold through the airport wait? What happens to the snacks left over when you enter another country?
When packing gluten-free food for a flight, check four things separately: the food’s ingredients and handling, airport screening rules, airline baggage requirements and destination food-entry restrictions. Then choose food you can store properly for the time you actually expect to carry it.
Map the journey your food will take
Start with the trip from your kitchen to the point where you expect to eat, including ground transport, check-in, boarding and connections. Flight duration alone leaves out much of the time food spends in your bag.
Write down the departure airport, any connecting airports and the country where you will enter through border control. For each stage, identify which authority or airline can answer the relevant question.
| Question | Where to check |
|---|---|
| Can this food, spread or cooling pack pass screening? | Departure and connection airport security guidance |
| Does the food bag count towards my cabin allowance? | Operating airline and ticket conditions |
| Can I bring and eat my own food onboard? | Operating airline |
| Can leftovers enter the destination? | Destination customs or agricultural authority |
| Can this food remain properly stored until eating? | Product instructions and authoritative food-safety guidance |
Keep the answers connected to your actual itinerary. A rule for a U.S. security checkpoint does not establish what applies at an Indonesian departure airport. If your connection involves another screening checkpoint, check that location too.
Check spreads, sauces and cooling packs before packing
Do not assume every food item is treated like a dry snack. Ask specifically about yoghurt, dips, sauces, nut butter, soup and other soft or spreadable foods, along with any ice or gel packs needed to carry them.
For international flights departing Indonesian airports, Garuda Indonesia’s published baggage guidance states that cabin liquids, aerosols and gels must be in containers no larger than 100 ml, carried together in one clear resealable bag with a maximum volume of one litre per person. This is a useful starting point; confirm how the applicable screening rules classify your particular food and cooling equipment.
A small portion inside a larger tub should not be your packing strategy when the published limit concerns container capacity. Likewise, putting a sauce in a food container does not answer whether screening treats it as a liquid or gel.
If you need a dietary or medical exception, ask the relevant screening authority what qualifies, what evidence is required and how to present the item. Do not assume that a gluten-free label automatically creates an exemption.
Check utensils separately. Choose a meal that is manageable with permitted utensils rather than relying on a knife or another item whose acceptance you have not established.
Choose food that matches your storage options
Food that needs no refrigeration under its package instructions is often the simpler backup for a long or uncertain journey. Possible candidates include gluten-free crackers, snack bars or other packaged foods you already know how to assess. These are categories to investigate, not blanket recommendations: check the exact ingredients, other allergens, storage instructions and destination restrictions.
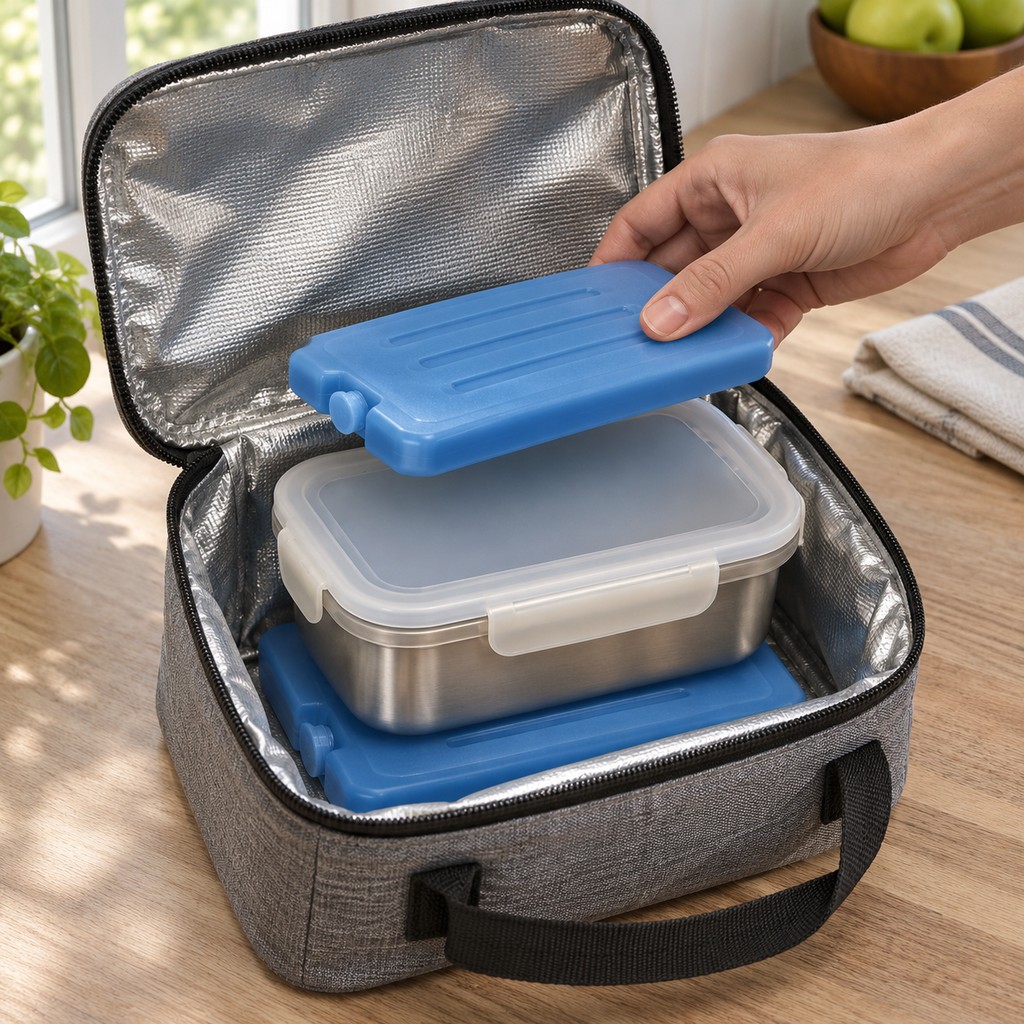
A homemade meal gives you control over what you pack, but also gives you responsibility for preparation and temperature control. A gluten-free meal can still require refrigeration; its gluten status does not answer the food-storage question.
For cold packed meals, USDA’s bag-lunch guidance recommends at least two cold sources positioned around perishable food. That recommendation does not establish how long a particular bag will keep your meal cold, or whether its cooling packs will pass your route’s security checks.
USDA advises keeping cold perishable food at or below 40°F, approximately 4°C. Its guidance on food left at room temperature says to discard perishables left out for more than two hours, or one hour when temperatures exceed 90°F, approximately 32°C. These are U.S. food-safety recommendations, not airline baggage rules. An insulated bag alone does not demonstrate that the food stayed cold.
For example, a hypothetical traveller leaving home before dawn and eating after a connection needs a plan for the whole interval. If dependable cooling cannot be arranged, replacing a chilled meal with suitable shelf-stable food is more practical than hoping the bag will remain cold. Do not assume cabin crew can refrigerate or reheat your food; ask the airline before making either service part of your plan.
Keep labels and preparation information available
Read the current package before putting a familiar product in your bag. Check the complete food, including flavourings, fillings and separate seasoning sachets. Keep relevant allergy requirements in view alongside gluten information.
NIDDK’s dietary guidance recommends checking food labels and explains that gluten cross-contact can occur during storage, preparation and serving. For packing, that means considering the board, utensils, containers and shared spreads used to assemble your food.
Use clean food containers and utensils, and keep your packed food separate from gluten-containing snacks in a shared travel bag. Individual portions can make eating easier without repeatedly opening and reaching into the same container.
Where practical, retain original packaging so ingredients and product identity remain available. Photographs can help you refer back to a label, but do not assume a photograph replaces packaging or documentation requested by a border authority.
If oat bars or oat-based snacks are part of your plan, our guide to checking oats and gluten-free labels explains why an oats-only ingredient list does not settle the handling question. Choose products that fit your established dietary requirements rather than treating travel day as the time to resolve an unfamiliar product.
Check what may cross the border
Passing airport security and being allowed to bring food into a country are separate decisions. Food purchased after security also needs an entry check if you intend to carry it across the border.
Use the destination’s official customs or agricultural guidance to investigate your exact food. Pay particular attention to meat ingredients, dairy, fresh produce, seeds and mixed products. A sealed packet or homemade label should not be treated as permission to import it.
For an Orlando-bound journey, U.S. Customs and Border Protection instructs travellers to declare all food. USDA APHIS travel guidance provides the starting point for checking which agricultural products may enter the United States. Requirements depend on the product and its origin; declaring an item does not guarantee admission.
Check what will happen to unfinished food before arrival. You might plan to eat certain items during the journey and carry only permitted products onwards, but plans can change. If food remains, follow the arrival declaration and inspection instructions rather than assuming a partly eaten packet no longer counts.
For another destination, use that country’s rules. For the return to Indonesia, make a fresh check with the relevant Indonesian authorities rather than applying your outbound destination’s rules in reverse.
Pack for access, portions and delays
Put food intended for the journey in the cabin bag you expect to keep accessible, within the operating airline’s allowance. Ask whether a separate food bag counts as another item; dietary purpose alone should not be treated as extra baggage permission.
Pack portions around likely eating opportunities. One easily opened portion for the airport and another for later may be more convenient than a large container requiring assembly on a tray table. Include a permitted utensil and napkins, and keep the food’s own container available as an eating surface.
Choose a backup that does not depend on buying an unconfirmed ingredient, finding hot water or obtaining refrigeration. Allow some flexibility for a delay, while keeping the quantity realistic for your baggage space and border plans.
A useful question to send the airline is:
I plan to carry my own gluten-free food on flight [number and date]. Does my food bag count within my cabin allowance, and are there restrictions on eating personal food onboard? I also plan to carry [specific food or cooling item]. Please direct me to the applicable guidance and identify any points I need to confirm with airport security.
Keep requesting an airline-provided meal as a separate task. A special-meal request does not resolve the rules or storage arrangements for food you pack yourself.
Before you close the bag
Check that you can explain each item’s purpose: when you intend to eat it, how it will be stored and whether you may carry any remainder into the destination. Remove food whose transport or storage depends on an unanswered assumption.
Keep the most useful confirmations accessible, including product information and any route-specific advice. If an important answer changes at the airport, return to the practical choice: another permitted food, a different eating arrangement or your shelf-stable backup.
The strongest backup is food you can identify, carry and store under the conditions of your actual journey. Packing more is less useful than packing something you can reasonably rely on when the meal time arrives.